The plan
During the post of the fiction and documentary films I decided to work on another personal project. For the past couple of personal projects I worked on a commuter. For this one, I wanted to make something with my hands.
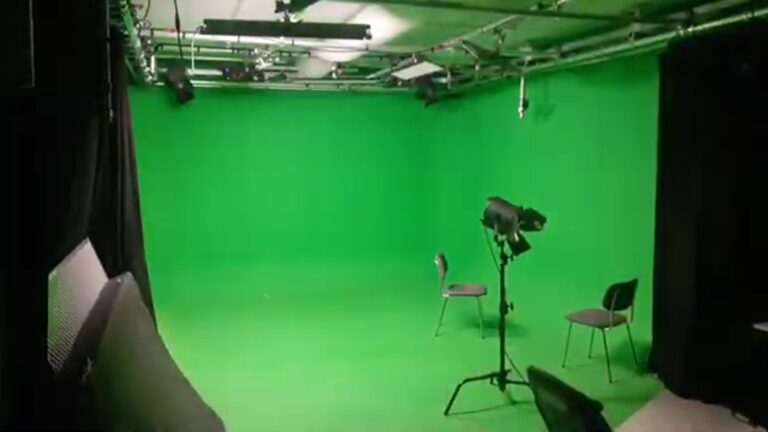
On the academy we have a dedicated greenscreen studio. The studio contains some DMX lighting, but the controller is deprecated and some lights are not even working. When turning on or off the lighting system, you had to switch the physical fuse. Which is safe nor user friendly.
I took it as a challange to make this room usefull again.

In a few weeks I want to turn this studio into a useful room with new technology. Therefor I needed to combine hardware and software. And as a bonus, I wanted the studio to have a Unreal integration.
To keep everything insightful, I wrote down a list of things to work on.
- Make sure all the lights are working.
- Make a user friendly system to control the lights.
- Make the lights react to Unreal data.
- Make a Unreal blueprint to sample a scene and send DMX data.
The studio setup
To setup the studio, I first had to get all the lights working. Luckily this was as easy as checking all cables and setting all DMX addresses. The studio is equipped with eight soft light panels and three spot lights. All lights can be dimmed and have a color temperature setting.
The controller
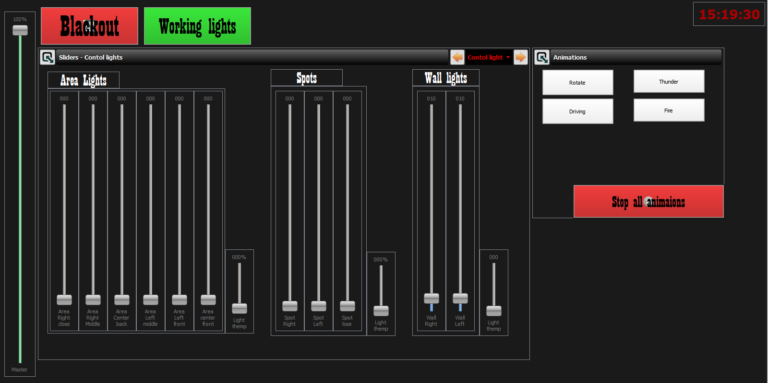
To be able to have users control the lighting, I build a virtual lighting console in QLC+. This is an open source program designed to control lightshows. I made a nice console with sliders for all the lights. Within QLC+ you can setup animations. since it is originally for lightshows. This can be useful to have dynamic lighting in the studio.
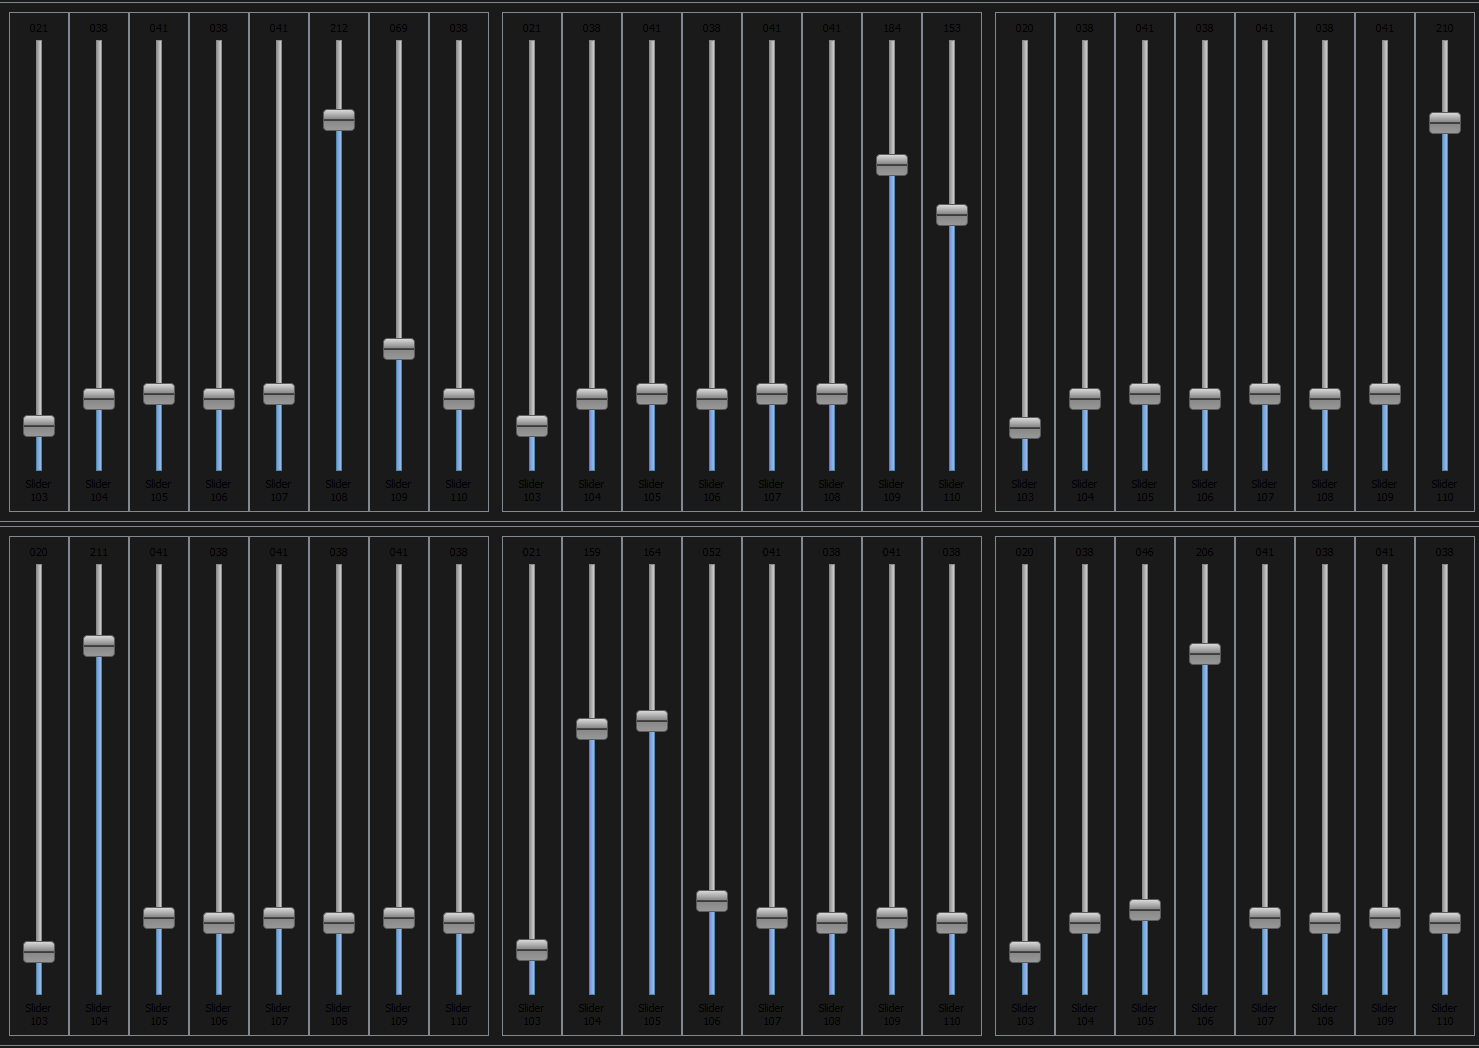
To make it even more user friendly, I made three ways of getting to the console. Using the Raspberry pie, using a web interface of using a physical console. The console was very infesting, since it was not made to control lighting. The console was build to be used as a audio interface. QLC+ translates it’s midi data to DMX. And when adjusting the lighting using anything other than the console, the sliders will move to mach the new value. (which is very satisficing to watch.)
Scene to DMX blueprint
Now that the studio lights were working, it was time to sit behind a desk again. The next step is to make a Unreal integration for the lights. To make this work, I need two parts. QLC+ should be able to receive data from Unreal. Preferably is should also be able to send data to be able to make changes to the scene and data. Secondly, Unreal needs to generate DMX data based on the scene and its lighting. Then adjust the data based on the preferences of the gaffer. Then send it to the network.
Unreal Scene to DMX module
The first step in this proces was to make a system that could sample a scene. I did this by placing a 180 degree camera in the scene and sampling the rendered pixels. All the pixels are sampled on a separate thread due to performance issues. The proces gives a long array with RGB data. I then have to calculate its xy coordinate using its index in the array.
Next I have to find which pixels are inside which lamp-sample area. Then calculate the average value and convert it to either CCT, RGB or HSV format to be send ad DMX. The data will be send using Artnet. This way, no matter which computer is running the scene, the data will be available for the studio lighting system.
Due to performance issues, this proces can not be done every frame. The sample rate and sample resolution are customizable. To compensate for lower sample rates, I made a module to smooth the DMX data between samples.
My focus was on making all of this as user friendly as I could. In the final version it is easy to add, remove and adjust light sample areas using the unreal editor. The build in adjustments are also easy to setup with external DMX data. You can add, subtract, multiply and limit the sampled values using the external values.
I also build in a DMX dump and read functionality. This way the Unreal take recorder can record the DMX data and play it back, including the external modifications. The DMX will be played back together with the rest of the scene.
Network to light
Since unreal is doing all the calculations, QLC+ only has to convert the physical console data (midi) to Artnet and receive the Artnet data to send it to the lights. With a simple switch the user can choose to use the manual or unreal mode.


